Friday, December 28, 2012

Excalibur Mini Hotend

Today I received a new fan.


Its size is 25 x 25 x 8 mm. Quite small, so to speak.

Now I am planning to design a new hotend around it: Excalibur Mini.

Btw I renamed the Organ Pipe Hotend + Mk IV to Excalibur Hotend. You can find its description here.

Here it is printing.

Wednesday, December 19, 2012

Warping - Some Findings

Today I tried some settings in Slic3r. Doing so I printed a U-shaped testcube of PLA on a heated mirror. I printed the first layer at 200°C and the subsequent layers, too. It looked quite well, but at one corner it hadn't stuck to the bed as perfectly as I wished. Actually I wouldn't call it warping already, but maybe the very very beginning of it.

So I cleaned the mirror with alcohol. Then I printed a second cube with 200°C at the first layer and the other layers at 170°C. My expectation was a reduction of the warping, as a layer with a lower temperature wouldn't shrink that much like a hotter one.

The result was puzzling. The second cube showed strong warping.

To be sure I repeated the printing and printed a third cube with 200°C/200°C and a fourth with 200°C/170°C. While the third one again showed no warping, the fourth cube warped so much that it got off the heated bed and I had to abort the print.


Obviously the reduction of temperature at the second layer weakens the bond of the first layer to the bed. Maybe the "cold" second layer cools down the first one and causes it to shrink. Once the first layer got off the bed the whole part is an easy prey to warping.

Possibly this temperature difference explains a lot of cases of mysterious warping. A little option in the slicing software turns out to be a trap ...

I guess I will repeat this with ABS soon.


Tuesday, December 11, 2012

Mk IV is printing

Today Mk IV got ready.

After making the parts

they were assembled.


It extrudes ABS very well.

For the first time I dared to bore a nozzle with a cheap 0.3 mm PCB drill on my drill press. The drill went through the brass without any difficulty.

The nozzle prints very well. Unfortunatly I broke my 1 mm center drill on Saturday, so I had to use and ordinary 3.5 mm drill for the inside of the nozzle.


Monday, December 10, 2012

Just solder it

Well, crimping a stainless steel tube actually isn't very easy, as I had to learn. So a solder free solution isn't really in sight.

Furthermore I do not like the gap between the screws caused by the crimping, as it hinders the flow of molten plastics. Therefore I came up with a solution, where the barrel is soldered to the upper screw.

I think this solution is the best one as it leaves no gap open and allows me to change the barrel and/or the nozzle. In fact I only need two barrels (one for ABS and one for PLA).

So I've begun to make the barrel.


Next step will be the nozzle.


Sunday, December 9, 2012

No more soldering?

I am thinking about a hotend which can be made without soldering. The idea of crimping the barrel came up in the reprap forum. After some discussion I suggested something like the following solution.


To be honest I don't know, if I prefer such a solution. What I don't like about it is that the nozzle has no contact to the bottom of the heater block. The head of the screw will have a cooling effect on the nozzle this way. It should touch the heater block thus.

Maybe this solution is better:


Saturday, December 8, 2012

Pipe Gallery

Here is a picture of the pipes I've made up to now.


The Mk I pipes extruded only PLA while the Mk II and Mk III extruded ABS.

The Mk III is by far the easiest to make. It starts with a simple screw.


It is amazing to see how this tiny piece of brass easily turns into a nozzle. My new nozzle sharpening tool speeds up the making of the nozzle significantly.

A few tools more and I am ready for mass production. :)

Nozzle Sharpening Tool

There are two kind of people in the world: Those who have a lathe and those who don't. Unfortunatly I belong to the latter one.

Actually it isn't very comfortable to build the cone of a nozzle without a lathe. So I constructed a little tool like a pencil sharpener.


The two black parts are cylindrical milling cutters. They do not rotate.

All I have to do now is to put a M6 screw into the chuck of my drill press and to turn the lever. I guess even with a lathe it would be more work.

Wednesday, December 5, 2012

Pipe Mk 3 in Action

The Mk 3 pipe turned out to be a great progress. Not only is it much simpler to make, it extrudes very well. I am satisfied.

 The organ pipe hotend extrudes ABS.

The calibration still has to be done ...

 ... but I am impressed by the quality.


Up to now I only used Skeinforge, but this is the first time I used Slic3r. 


In the past I had difficulties to extrude this spool of ABS at all. I seriously thought about throwing it away.  But the organ pipe hotend does its job very well.


Even the leaking of ABS at the soldering areas has gone.


No ABS leaks out.


Friday, November 30, 2012

Another Longsword Derivative

Today I saw that the organ pipe hotend isn't the only descendant of my former Longsword Hotend Project.

Wolfgang (Stoffel15) has built a new all metal hotend which is based on it.


Instead of a fan he uses a self paced water cooling which allows him to keep the hotend very short.

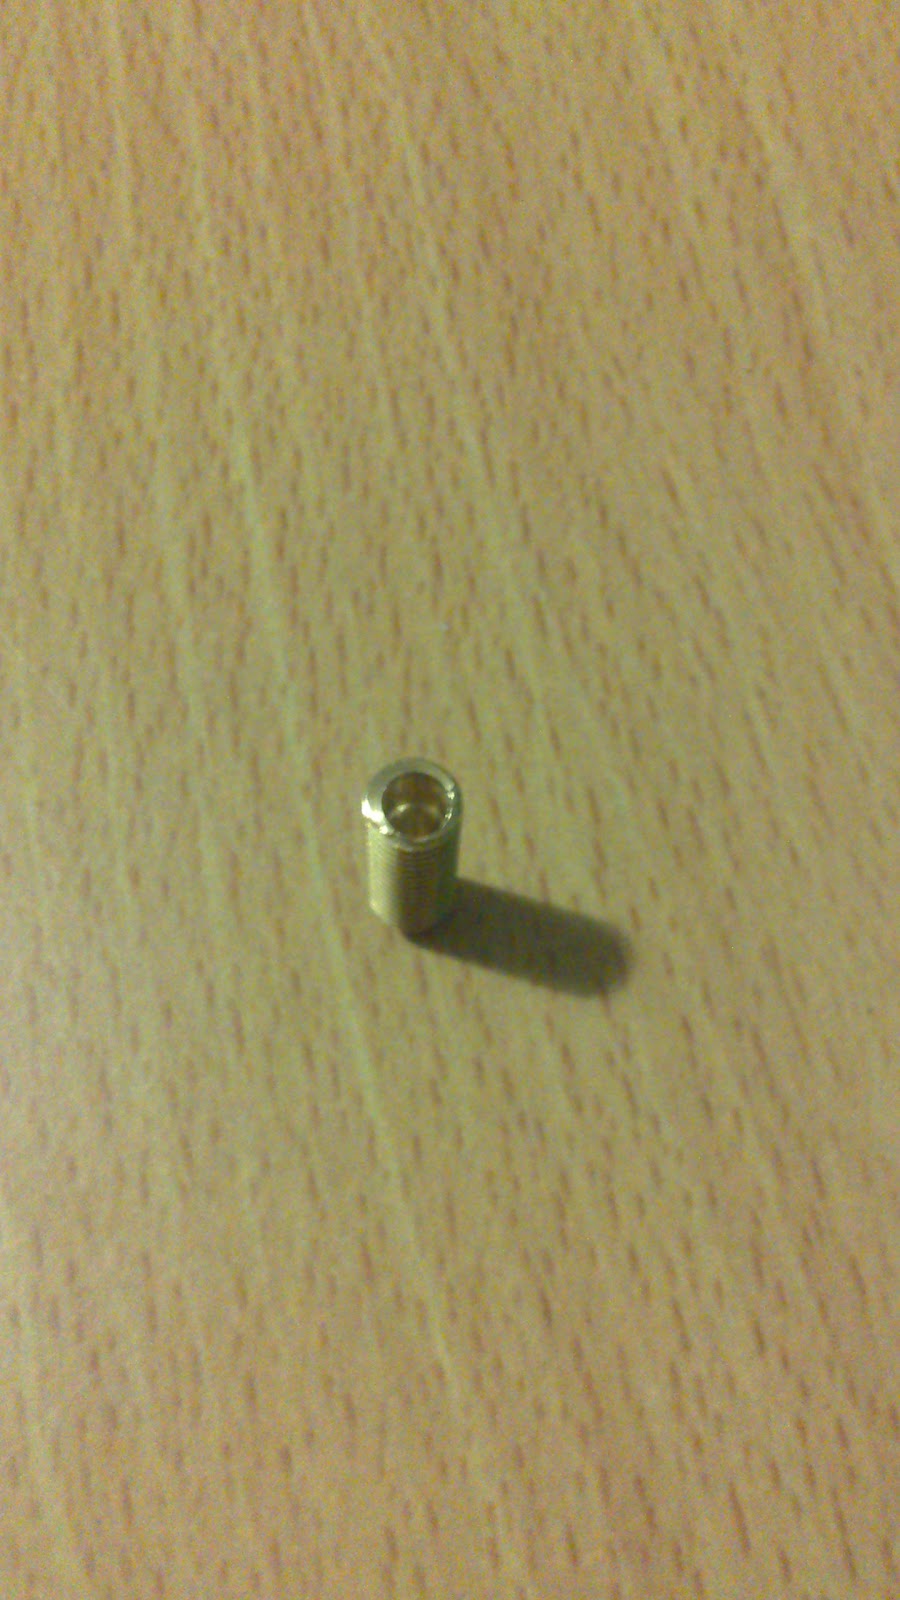
The stainless steel tube runs all along through the cooling bar and is widened up at the top, so it can't slip down. Like in the case of the organ pipe hotend the nozzle and the tube are virtually one part. Unlike with my pipe Wolfgang pressed the tiny brass nozzle into the tube. This is clever, because that way he doesn't need to solder them together. But on the other hand that means to build a very tiny nozzle on the lathe, which is rather difficult.

 As he has widened up the top of his pipe, the only way to pull it out of the cooling bar is upward. That means, if he wants to change the pipe, he must  take the cooling bar out of the extruder block. Not very comfortable yet.

The pipe is fixated to the cooling bar and the heater block by grub screws. I wouldn't have chosen this solution for two reasons.

  1. The grub screw presses the tube against the opposite wall thus opening a gap on the side of the screw. A gap blocks the heat transmission from and towards the tube.
  2. The grub screw can damage the tube.


The water cooling consists of a wound up brass tube touching the cooling bar. It is difficult to say, how efficient this method is, because a round tube touching a plane doesn't have much contact.


Apart from the fact that this design has room for improvements, I like it a lot. Good job, Wolfgang. ;)

I am pleased to see what open source can do.


Sunday, November 25, 2012

Further Simplification - Pipe Mk 3

Building some more pipes revealed that there is still room for further simplification.

Soldering the nut onto the threaded rod probably isn't the best idea because of annealing the brass. Besides it is an unnecessary step, because I could take a screw instead. Taking a brass M6 x 8mm hexagon screw would fit perfectly. All I had to do is tapering the head and drilling the holes.


This looks promising and easy to make. But there are two problems I need to solve yet. The first is to find a convenient way to taper the head on the drill press. The second is a way to improve the sealing. 

Thursday, November 22, 2012

New Pipe prints ABS

Today I built my simplified pipe.


Here the nozzle hole is drilled. The drill is a 0.5 mm PCB drill. As I found out they are well suited for drilling those holes into brass, since they are a little bit flexible. I use my ordinary drill press for it. The threaded rod is clamped into the chuck of the drill press, while the drill is hold by a little chuck from the watchmakers (look at my sources). The small chuck itself is clamped into a drill press vice. It is important that the drill press vice isn't fixated on the drill press table. The drill automatically finds the center of the rod this way. I drill at 600 rpm.

The nozzle part is ready now. Even the chamfer was made on the drill press by holding a file against the rod.


This is the other side of the nozzle part. The whole procedure took approx. half an hour.

The soldered pipe. A M6 nut is soldered onto the thread, so it is easier to screw the pipe in and out of the heater block.

ABS comes out of the pipe some minutes later. It works!

Two shopping coins. Still uncalibrated. Not bad for the beginning. The right one was printed at first. Both 36 mm/s @ 240°C.

I should have known better. A little bit of ABS is leaking out above the heater block. Every time when I solder only once it seems to get leaking. If I solder twice, it gets sealed.

In summary. I am quite satisfied with the results. The organ pipe hotend performs very well. I guess I will stick with it.

Wednesday, November 21, 2012

Simplified Pipe

I am thinking about a simplified pipe.

 
A cut through the pipe. 


I expect this version to be easier to make and less prone to leaking. Instead of 15 mm this version now has a soldering zone of only 5 mm. That should lead to less influence of thermal expansion and thus less danger of leaking.

By the way I will need less soldering paste.

Sunday, November 18, 2012

Mendel90T ready

Finally it got ready.


Soldering the Pipe

Now the new pipe has to be soldered together.

These are the ingredients.


Here the soldering paste is put on the tube. 


Everything is prepared now.


Here it is. (Thx Björn for soldering it.)

Meanwhile I have completed my Mendel90T and with the new hotend I am able to print a little test object.

Here it is printing. The video is in HD. The lightspeed method is brought into action here.

 Uncalibrated yet.

Pipe disassembled

The leaking pipe is disassembled from the printer now.

On both ends of the thread PLA leaked out. The stainless steel tube was bent a little when it was removed from the printer.

After removing the pipe the heater block is hangig free at the wires.

Saturday, November 17, 2012

Leaking Pipe

Obviously I didn't solder the pipe very well. It is leaking.

Green PLA comes out right above the heating block ...

... and below. Now I am wondering, if the soldering just wasn't done very well, or if it was a mistake to solder brass on stainless steel, because of their different thermal expansion.

Tomorrow I will try to make a better one. The "ingredients" are prepared already: