Friday, November 30, 2012

Another Longsword Derivative

Today I saw that the organ pipe hotend isn't the only descendant of my former Longsword Hotend Project.

Wolfgang (Stoffel15) has built a new all metal hotend which is based on it.


Instead of a fan he uses a self paced water cooling which allows him to keep the hotend very short.

The stainless steel tube runs all along through the cooling bar and is widened up at the top, so it can't slip down. Like in the case of the organ pipe hotend the nozzle and the tube are virtually one part. Unlike with my pipe Wolfgang pressed the tiny brass nozzle into the tube. This is clever, because that way he doesn't need to solder them together. But on the other hand that means to build a very tiny nozzle on the lathe, which is rather difficult.

 As he has widened up the top of his pipe, the only way to pull it out of the cooling bar is upward. That means, if he wants to change the pipe, he must  take the cooling bar out of the extruder block. Not very comfortable yet.

The pipe is fixated to the cooling bar and the heater block by grub screws. I wouldn't have chosen this solution for two reasons.

  1. The grub screw presses the tube against the opposite wall thus opening a gap on the side of the screw. A gap blocks the heat transmission from and towards the tube.
  2. The grub screw can damage the tube.


The water cooling consists of a wound up brass tube touching the cooling bar. It is difficult to say, how efficient this method is, because a round tube touching a plane doesn't have much contact.


Apart from the fact that this design has room for improvements, I like it a lot. Good job, Wolfgang. ;)

I am pleased to see what open source can do.


Sunday, November 25, 2012

Further Simplification - Pipe Mk 3

Building some more pipes revealed that there is still room for further simplification.

Soldering the nut onto the threaded rod probably isn't the best idea because of annealing the brass. Besides it is an unnecessary step, because I could take a screw instead. Taking a brass M6 x 8mm hexagon screw would fit perfectly. All I had to do is tapering the head and drilling the holes.


This looks promising and easy to make. But there are two problems I need to solve yet. The first is to find a convenient way to taper the head on the drill press. The second is a way to improve the sealing. 

Thursday, November 22, 2012

New Pipe prints ABS

Today I built my simplified pipe.


Here the nozzle hole is drilled. The drill is a 0.5 mm PCB drill. As I found out they are well suited for drilling those holes into brass, since they are a little bit flexible. I use my ordinary drill press for it. The threaded rod is clamped into the chuck of the drill press, while the drill is hold by a little chuck from the watchmakers (look at my sources). The small chuck itself is clamped into a drill press vice. It is important that the drill press vice isn't fixated on the drill press table. The drill automatically finds the center of the rod this way. I drill at 600 rpm.

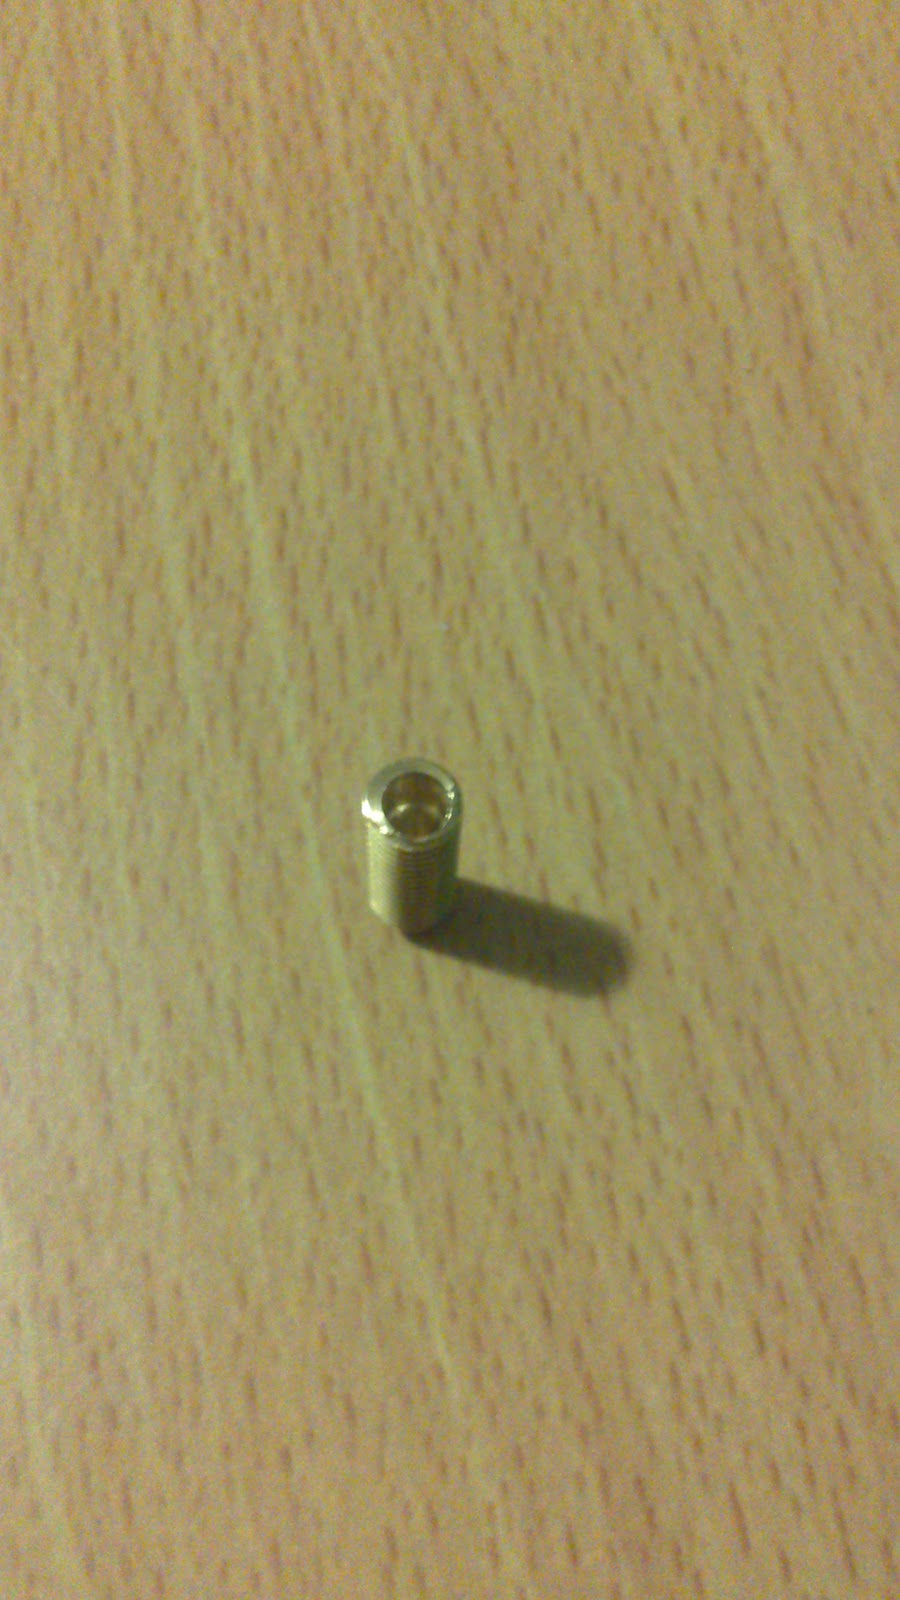
The nozzle part is ready now. Even the chamfer was made on the drill press by holding a file against the rod.


This is the other side of the nozzle part. The whole procedure took approx. half an hour.

The soldered pipe. A M6 nut is soldered onto the thread, so it is easier to screw the pipe in and out of the heater block.

ABS comes out of the pipe some minutes later. It works!

Two shopping coins. Still uncalibrated. Not bad for the beginning. The right one was printed at first. Both 36 mm/s @ 240°C.

I should have known better. A little bit of ABS is leaking out above the heater block. Every time when I solder only once it seems to get leaking. If I solder twice, it gets sealed.

In summary. I am quite satisfied with the results. The organ pipe hotend performs very well. I guess I will stick with it.

Wednesday, November 21, 2012

Simplified Pipe

I am thinking about a simplified pipe.

 
A cut through the pipe. 


I expect this version to be easier to make and less prone to leaking. Instead of 15 mm this version now has a soldering zone of only 5 mm. That should lead to less influence of thermal expansion and thus less danger of leaking.

By the way I will need less soldering paste.

Sunday, November 18, 2012

Mendel90T ready

Finally it got ready.


Soldering the Pipe

Now the new pipe has to be soldered together.

These are the ingredients.


Here the soldering paste is put on the tube. 


Everything is prepared now.


Here it is. (Thx Björn for soldering it.)

Meanwhile I have completed my Mendel90T and with the new hotend I am able to print a little test object.

Here it is printing. The video is in HD. The lightspeed method is brought into action here.

 Uncalibrated yet.

Pipe disassembled

The leaking pipe is disassembled from the printer now.

On both ends of the thread PLA leaked out. The stainless steel tube was bent a little when it was removed from the printer.

After removing the pipe the heater block is hangig free at the wires.